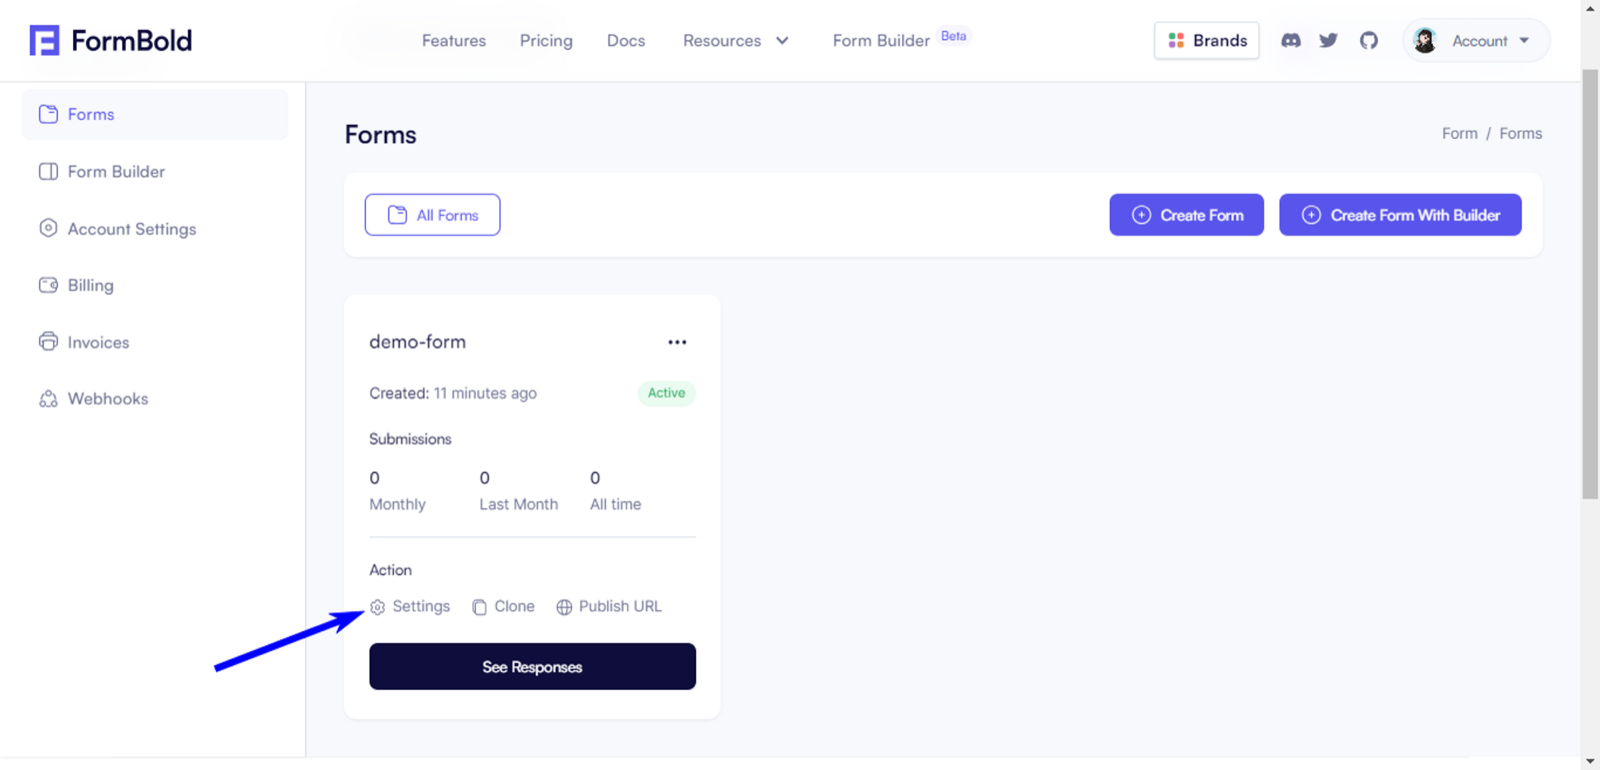
From Settings
General Settings
From the general settings, you can change things like Form Name, Form Enabled, and Submission Archive.
Here is a quick overview of everything you can do from the General Settings.
Form Name: Change Form Name
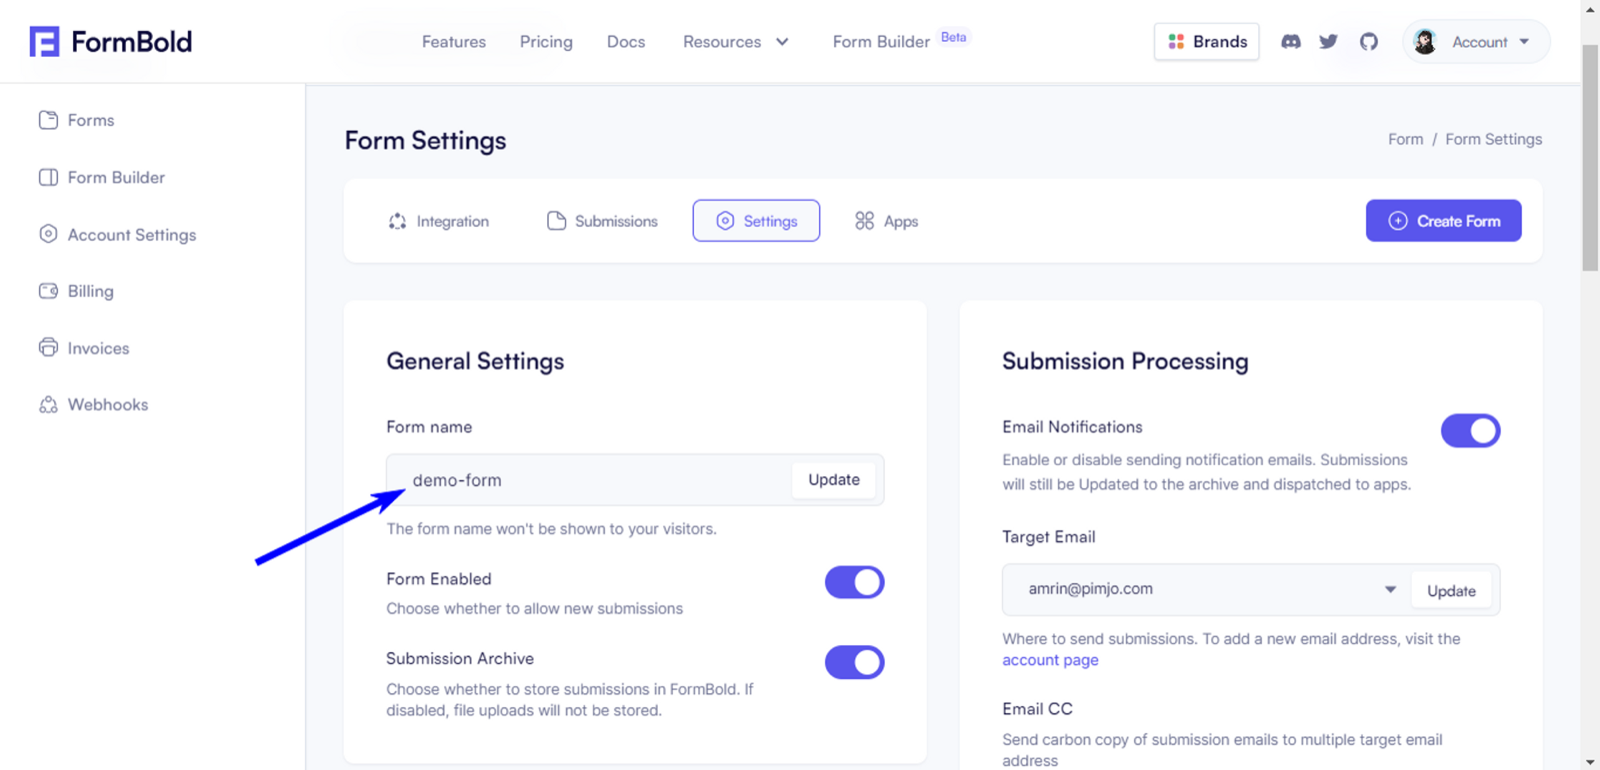
To change the Form Name first you’ll have to go to Form Settings.

After that, you’ll have to go to General Settings. Now you can change the Form Name from here.
Note: This name won’t be visible to the end user. It’s just an identifier for you.
Form Enabled
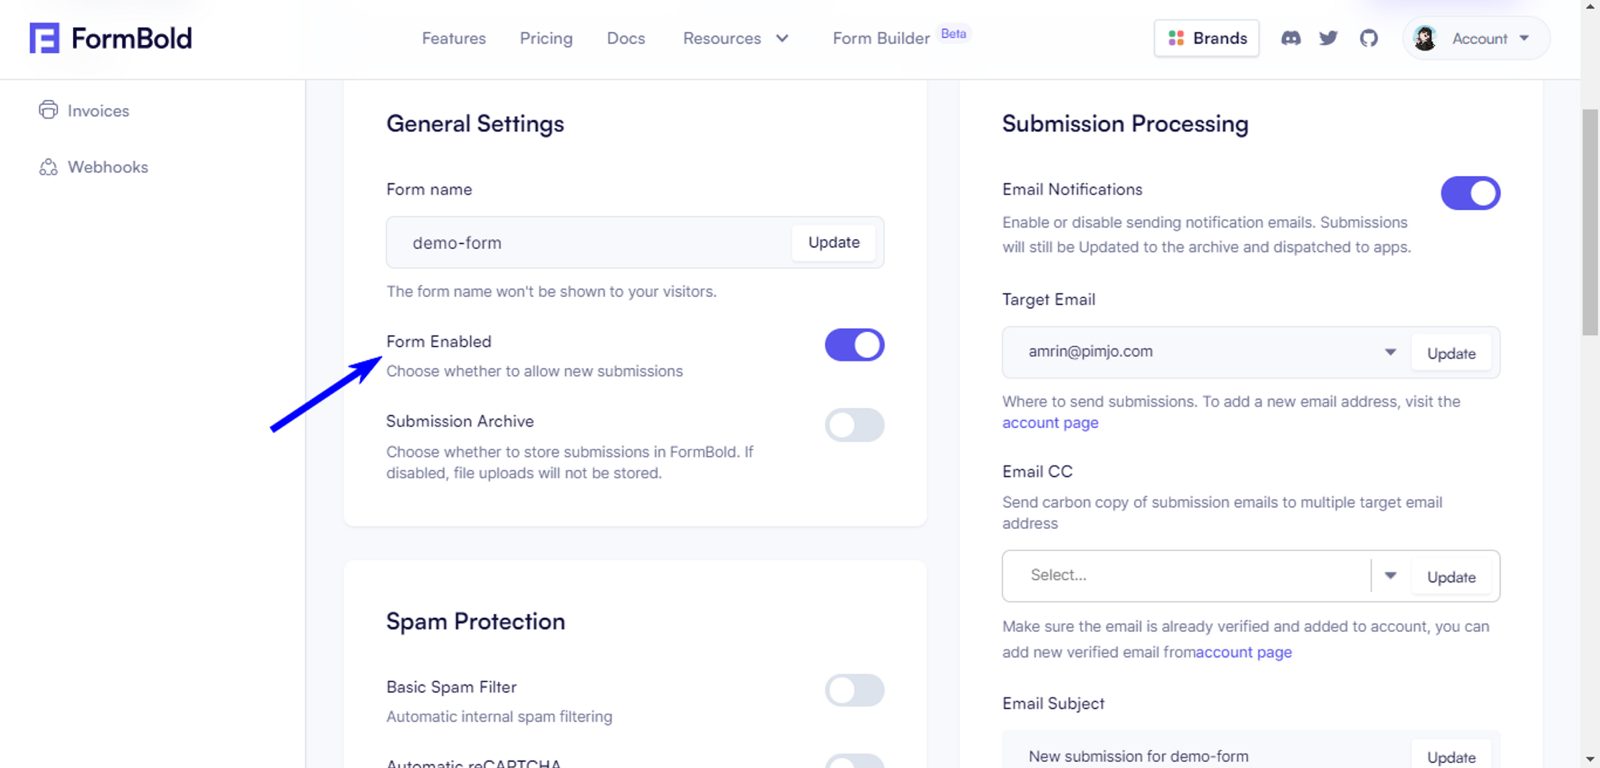
You can enable or disable your Form. If you disable it you won’t receive any new submissions.
You can Enable or Disable it from Form Settings>Form Enabled:
Submission Archive
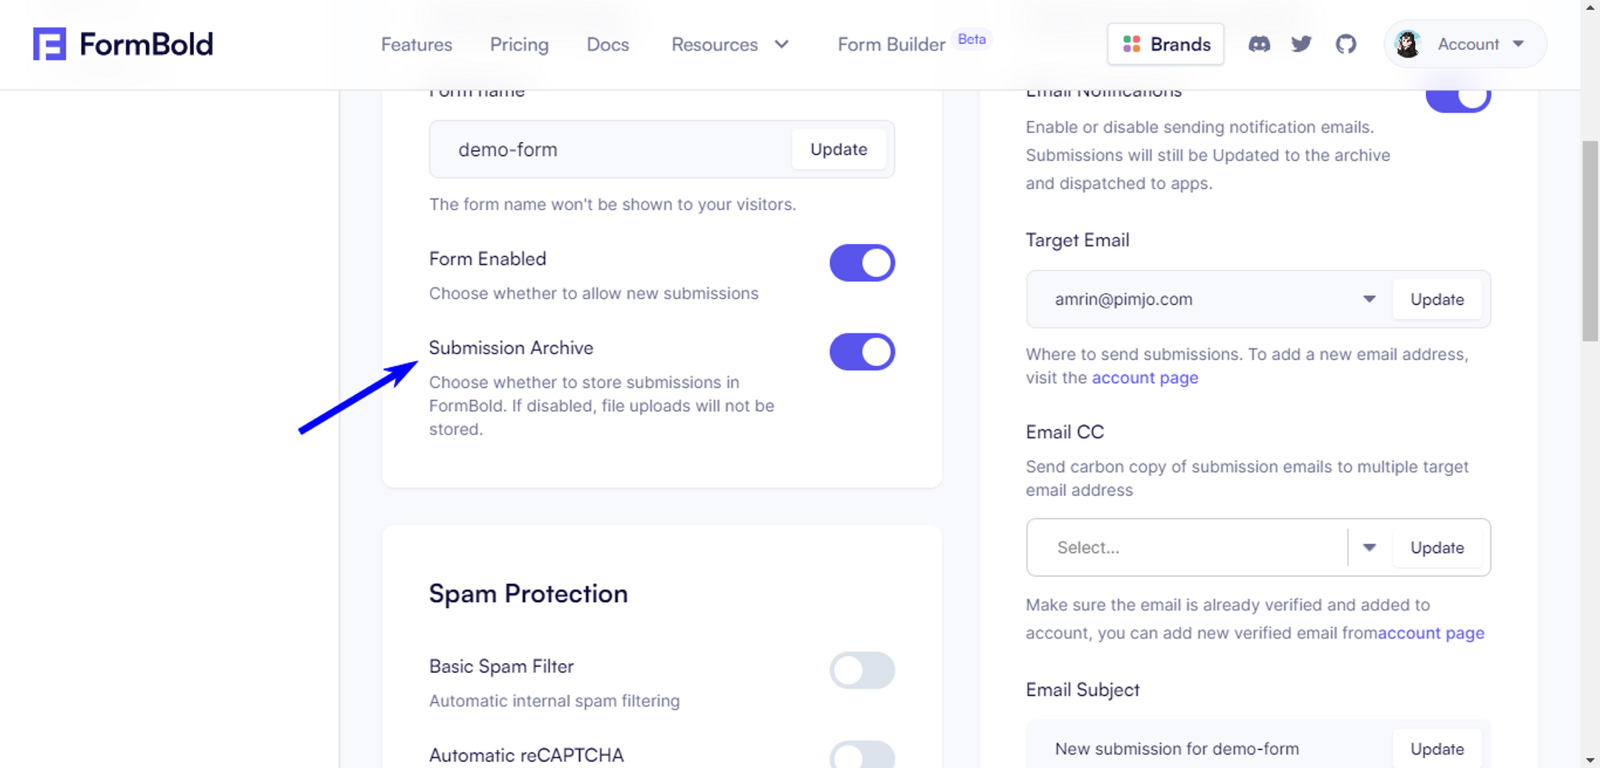
You can choose whether to store submissions in FormBold. If disabled, file uploads will not be stored.
You can Enable or Disable it from Form Settings>Submisson Archive:
Email Notifications
You can enable or disable sending notification emails. The submissions will still be Updated to the archive and dispatched to apps.
To update the Email Notification setting follow these steps.
Go to the Form Settings

- After that scroll down to Email Notifications and click on the toggler to Enable or Disable Email Notifications.
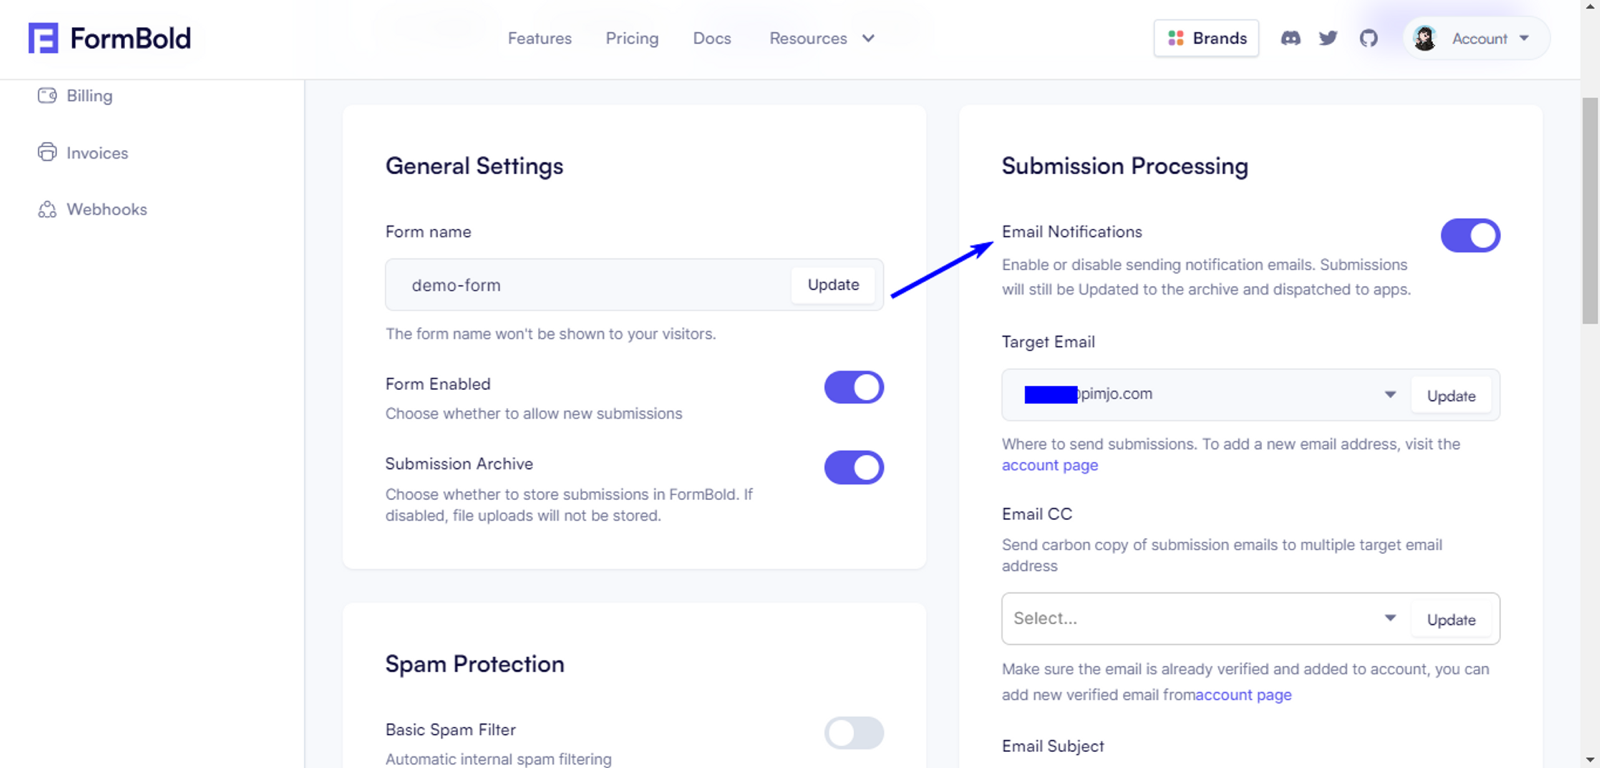
Target Email
Using the Target Email feature you can change where you want to send the submissions.
To update the Target Email follow these steps:
- Go to the Form Setting

- After that, scroll down to Target Email and click on the drop-down menu to change the Target Email
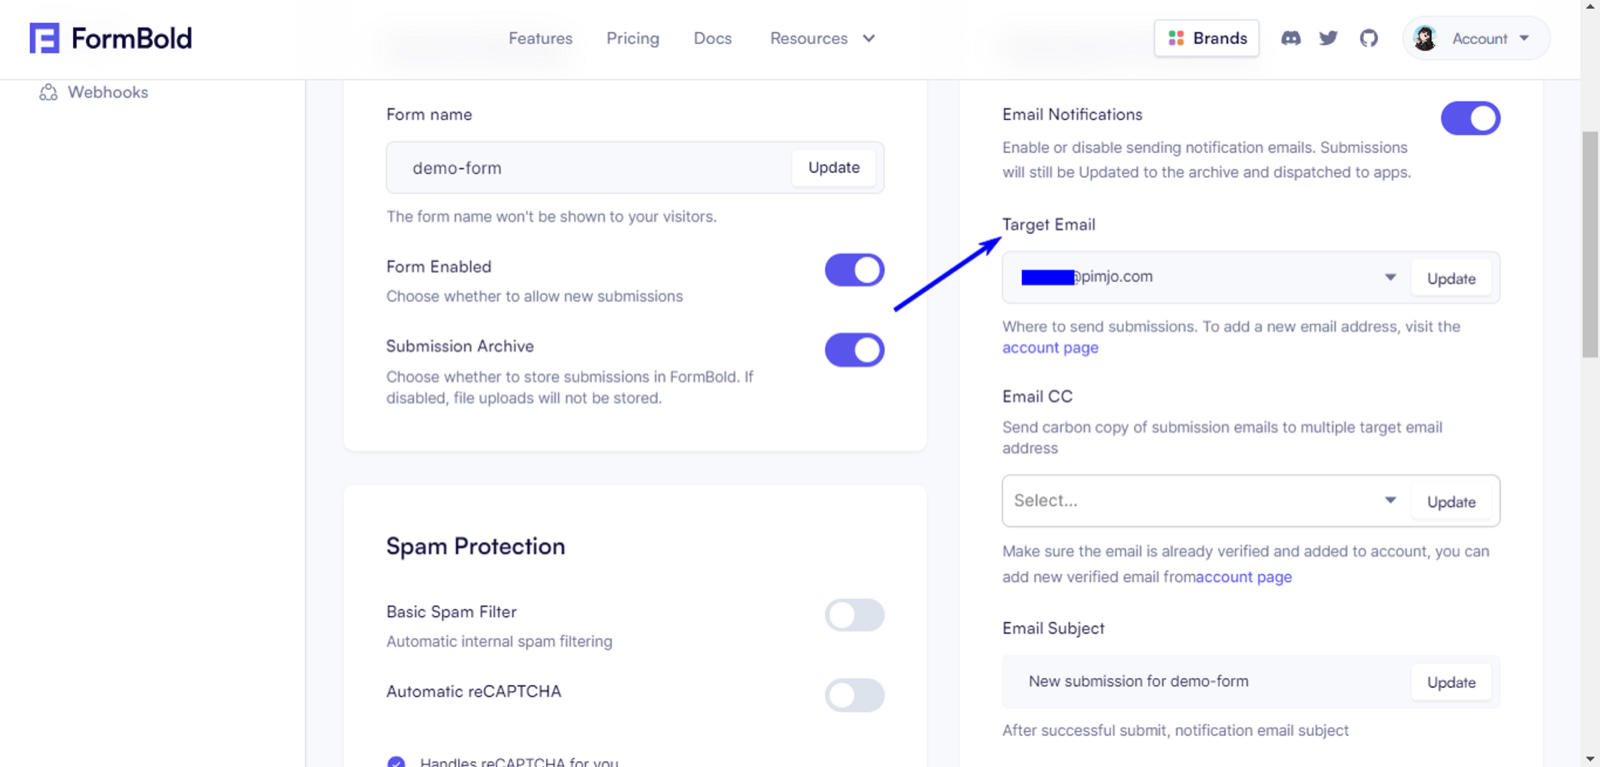
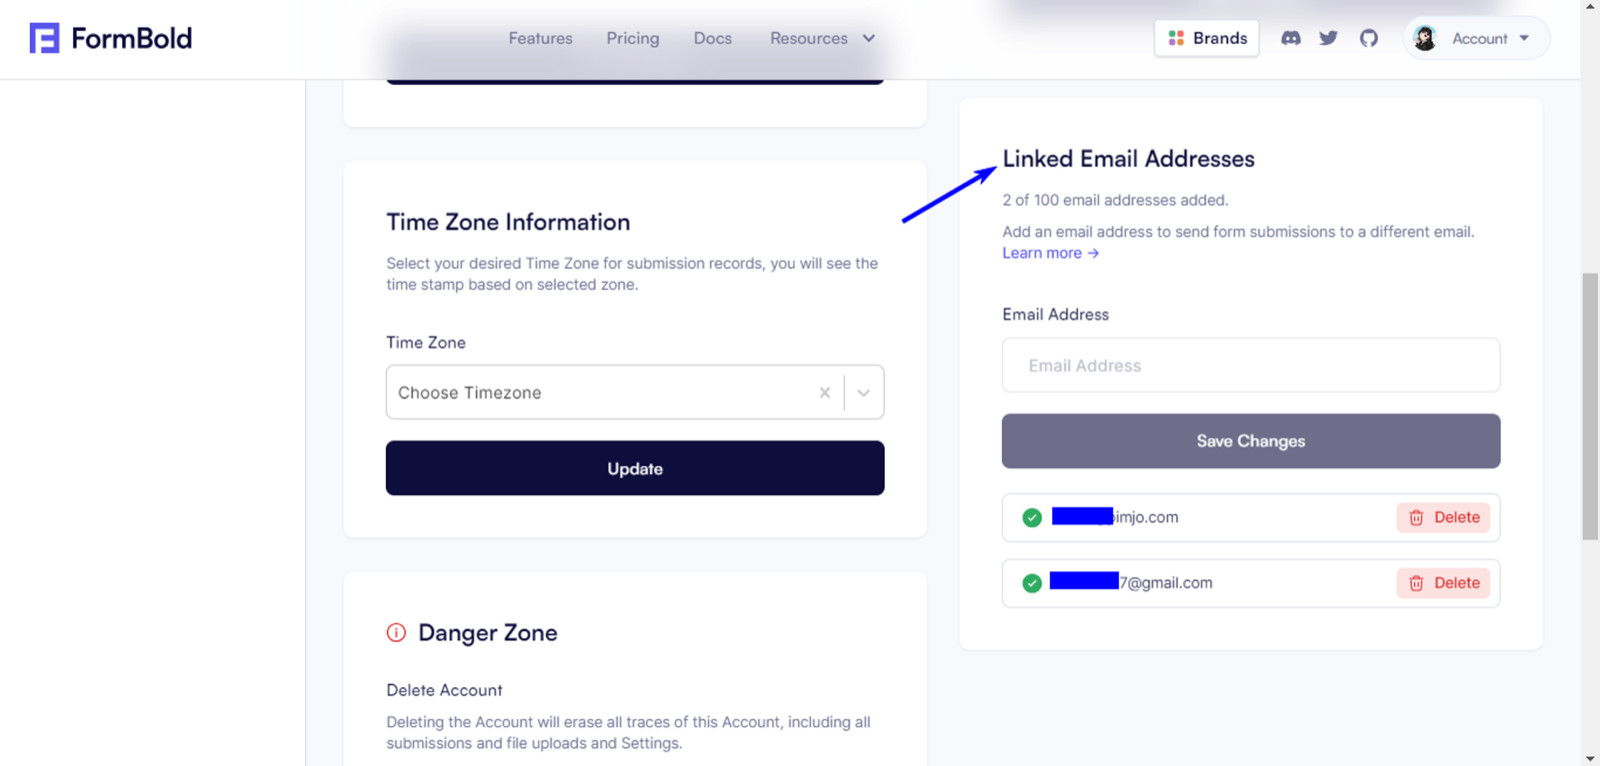
Adding Target Email
If you haven’t added any target emails yet, then you won’t see any emails in the drop-down.
You’ll have to add emails to Linked Email Addresses
Follow the steps to add emails:
Note: The amount of Target emails you can add depends on the plan you’ve purchased.
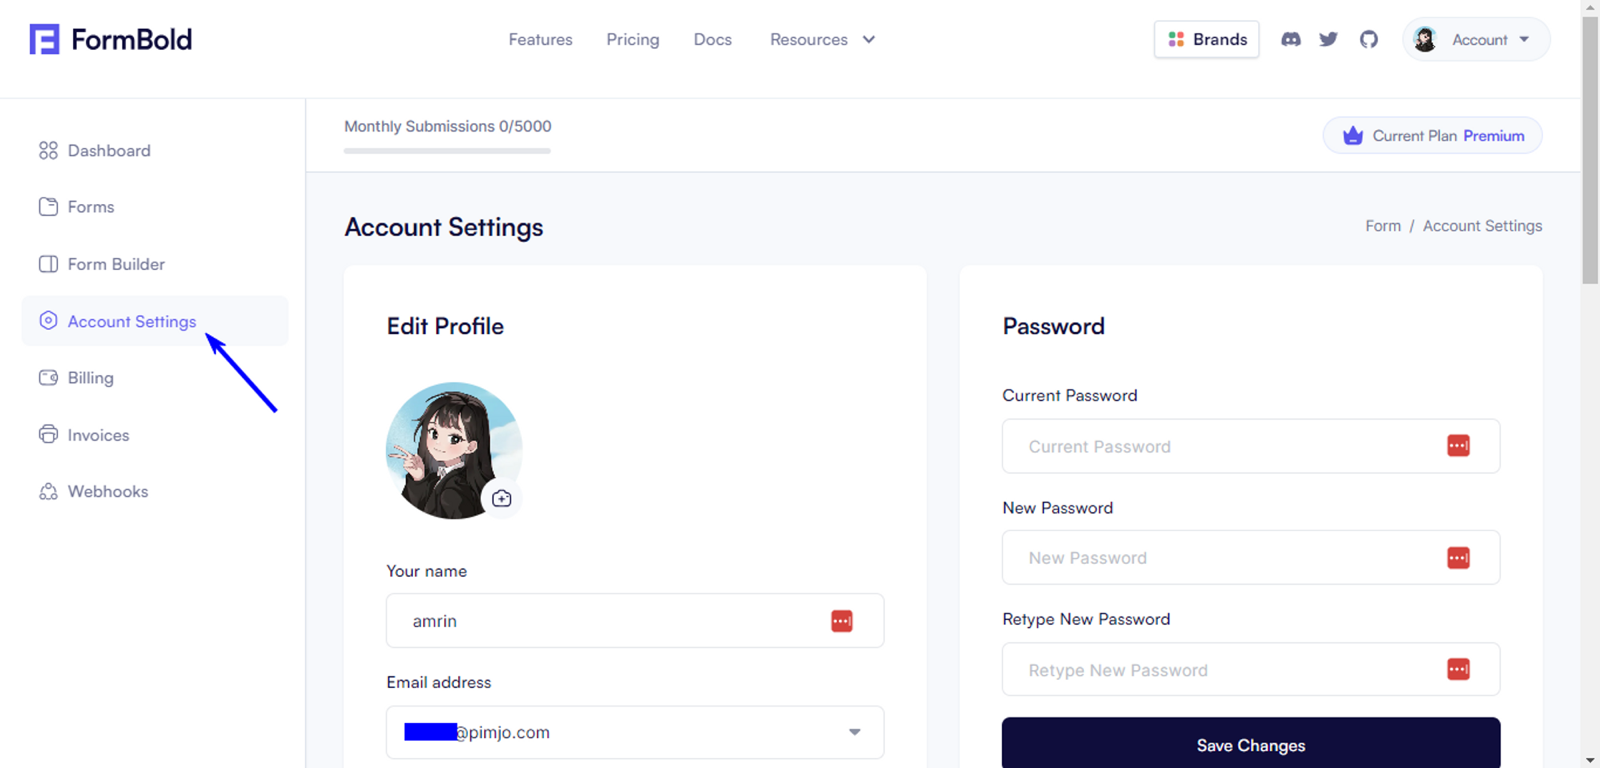
- Go to Account Settings
- Then go to Linked Email Addresses and add target emails here.
Email CC
Using this feature you can send Carbon Copy of submissions to a different email address.
To enable Email CC follow these steps.
- Go to Form Settings.

- After that, scroll down to Email CC and choose an email from the dropdown menu.

From now on a copy of the submission will be sent to the email you selected here.
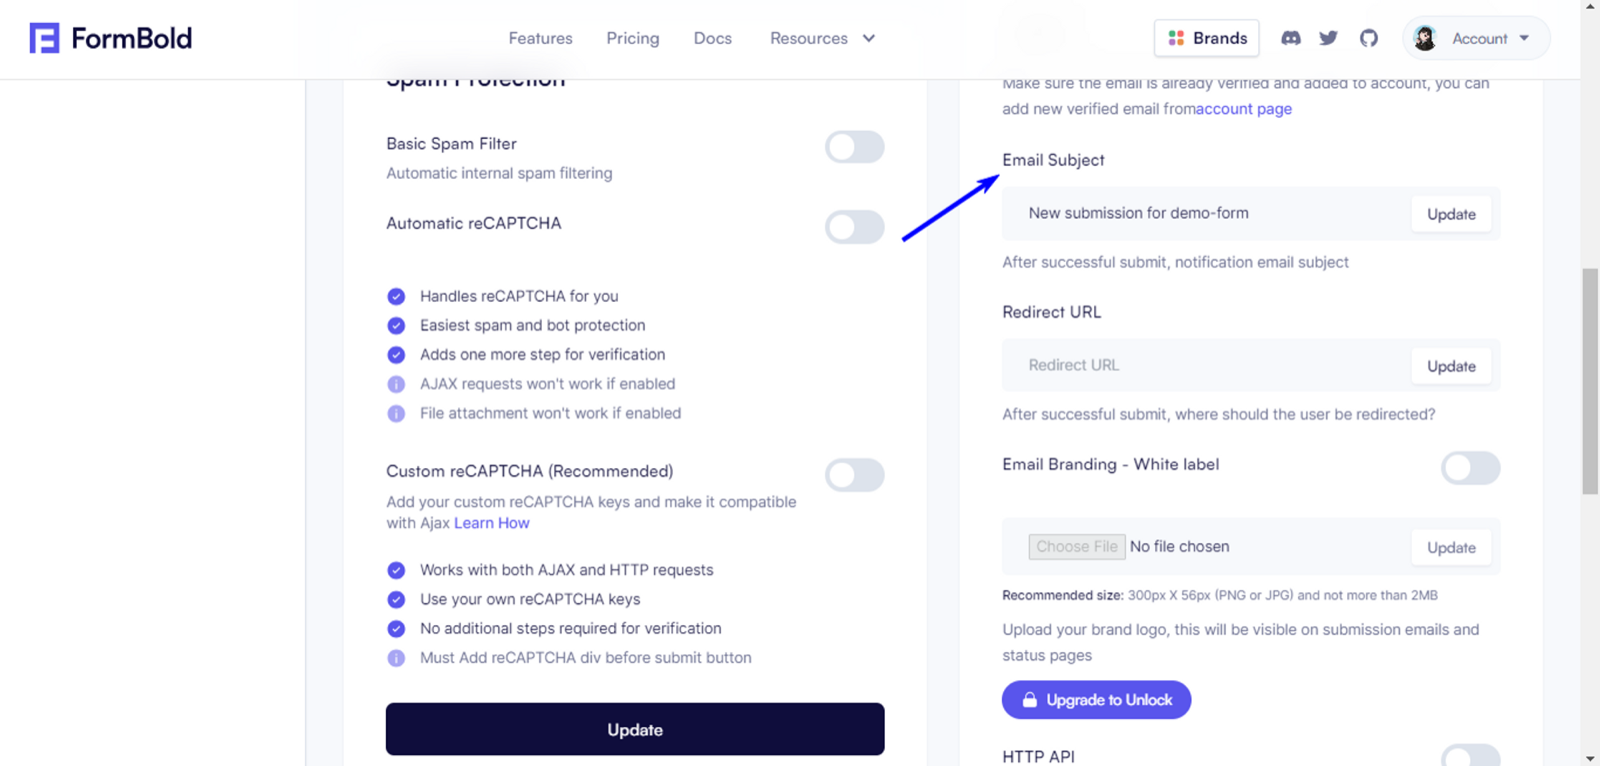
Email Subject
Add a custom title to the submission emails. It’ll help you identify the submissions.
Follow the instructions below to add a custom title:
- Go to the Form Setting.

- After that scroll down to Email Subject and add your customized subject. This is the email subject you’ll see when you receive the submission emails.
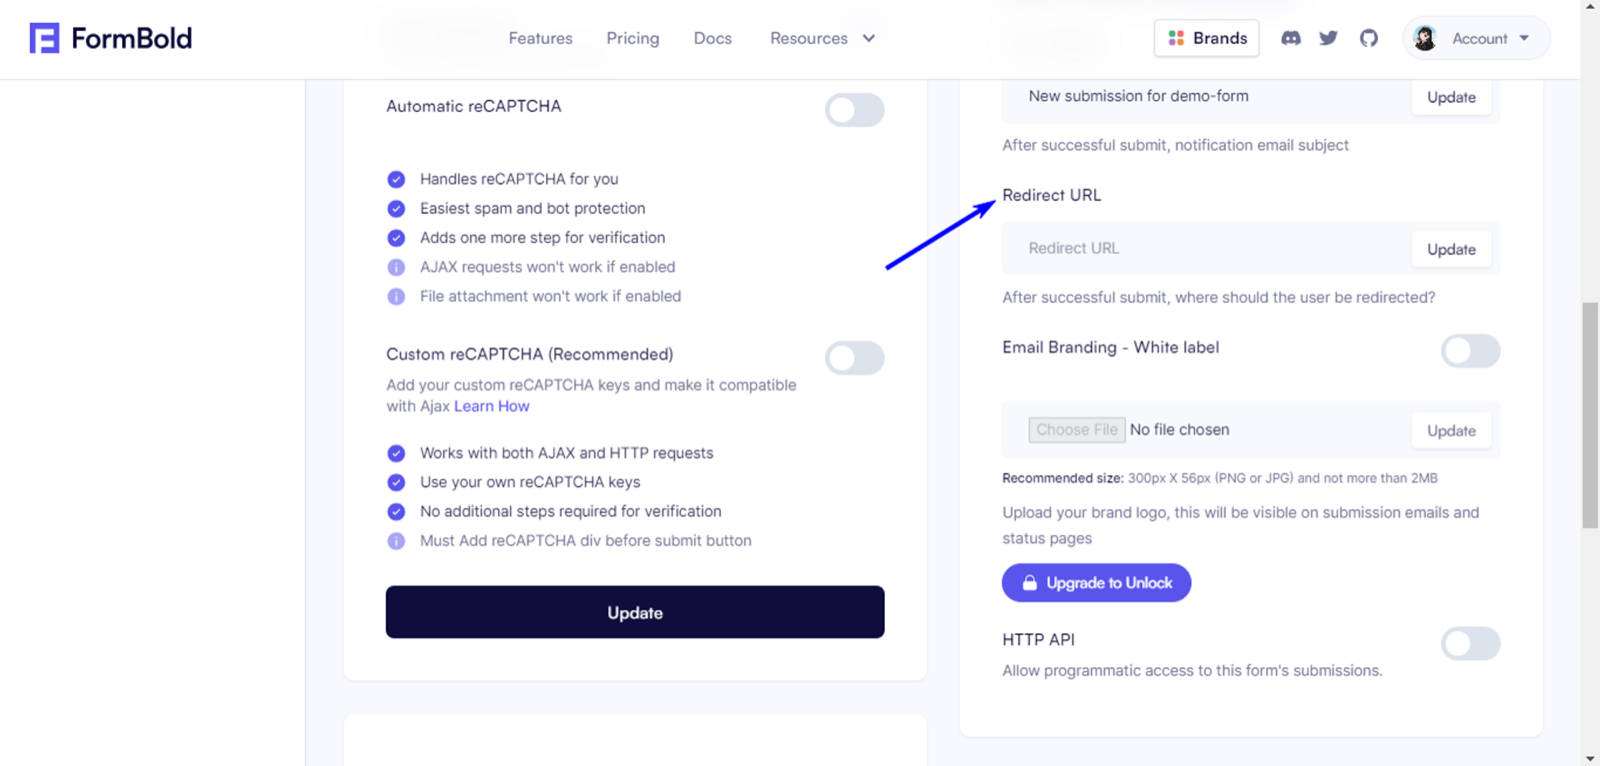
Redirect URL
After the user submits the form successfully you may want to send them to a thank you page. You can do that very easily by using the Redirect URL.
Here’s how to set up a Redirect URL
- Go to Form Settings.

- After that scroll down to Redirect URL. You can add your URL from here.
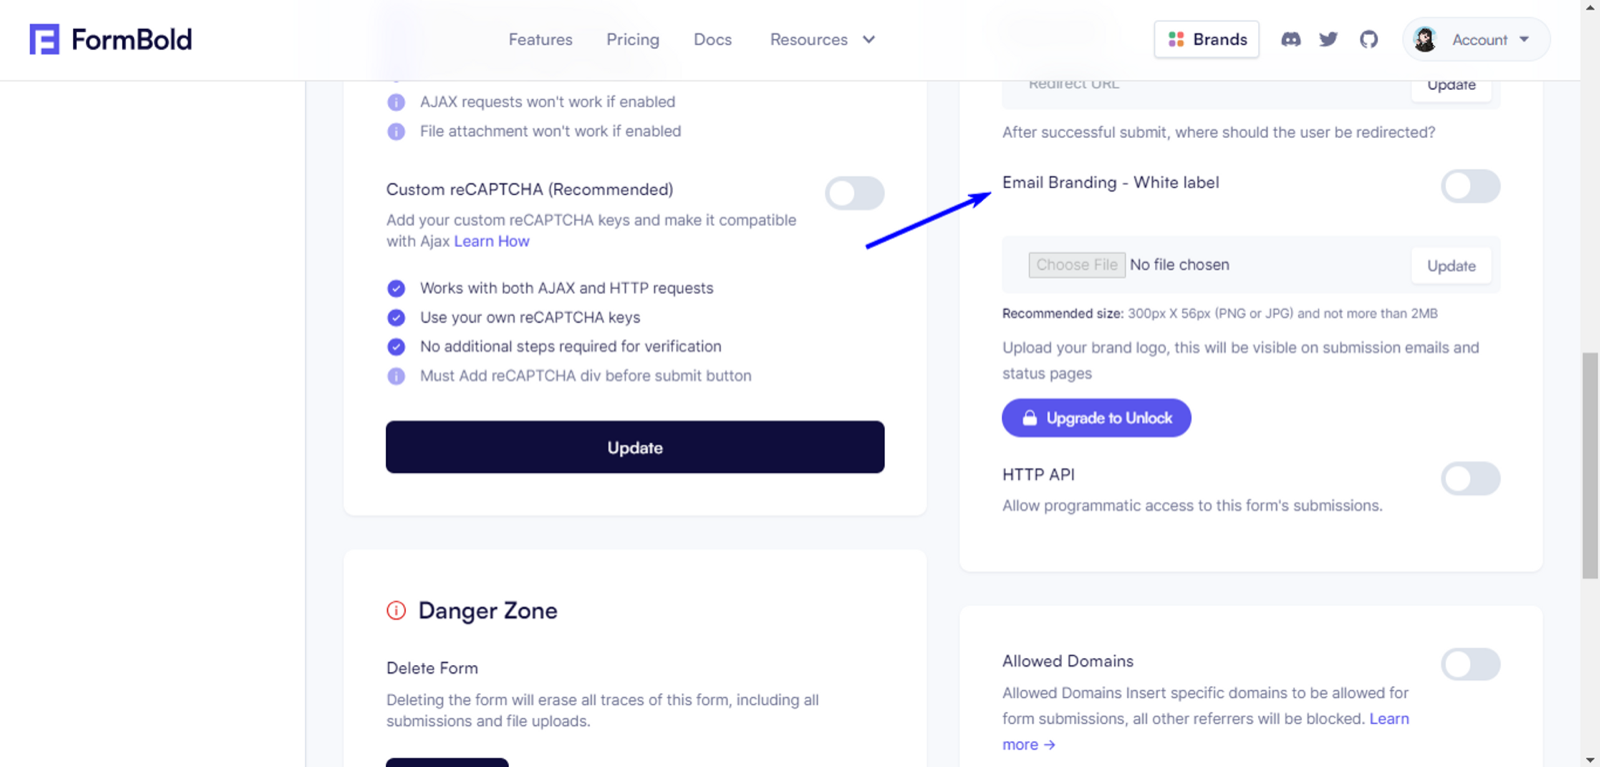
Email Branding - White label
You can add your Brand logo to the end of the email. It’ll make your email personalized to your brand.
- Go to Form Settings.
- After that scroll down to Email Branding - White label.
You can add the White label from here.
Make sure the image format is PNG or JPG and it’s 300px X 56px and the image is not more than 2MB.
Webhooks and HTTP API
You can use the FormBold API and get all the submissions as JSON. To be able to use the API first you’ll have to enable HTTP API from Settings.
Go to settings then scroll down to HTTP API to turn on the API access.
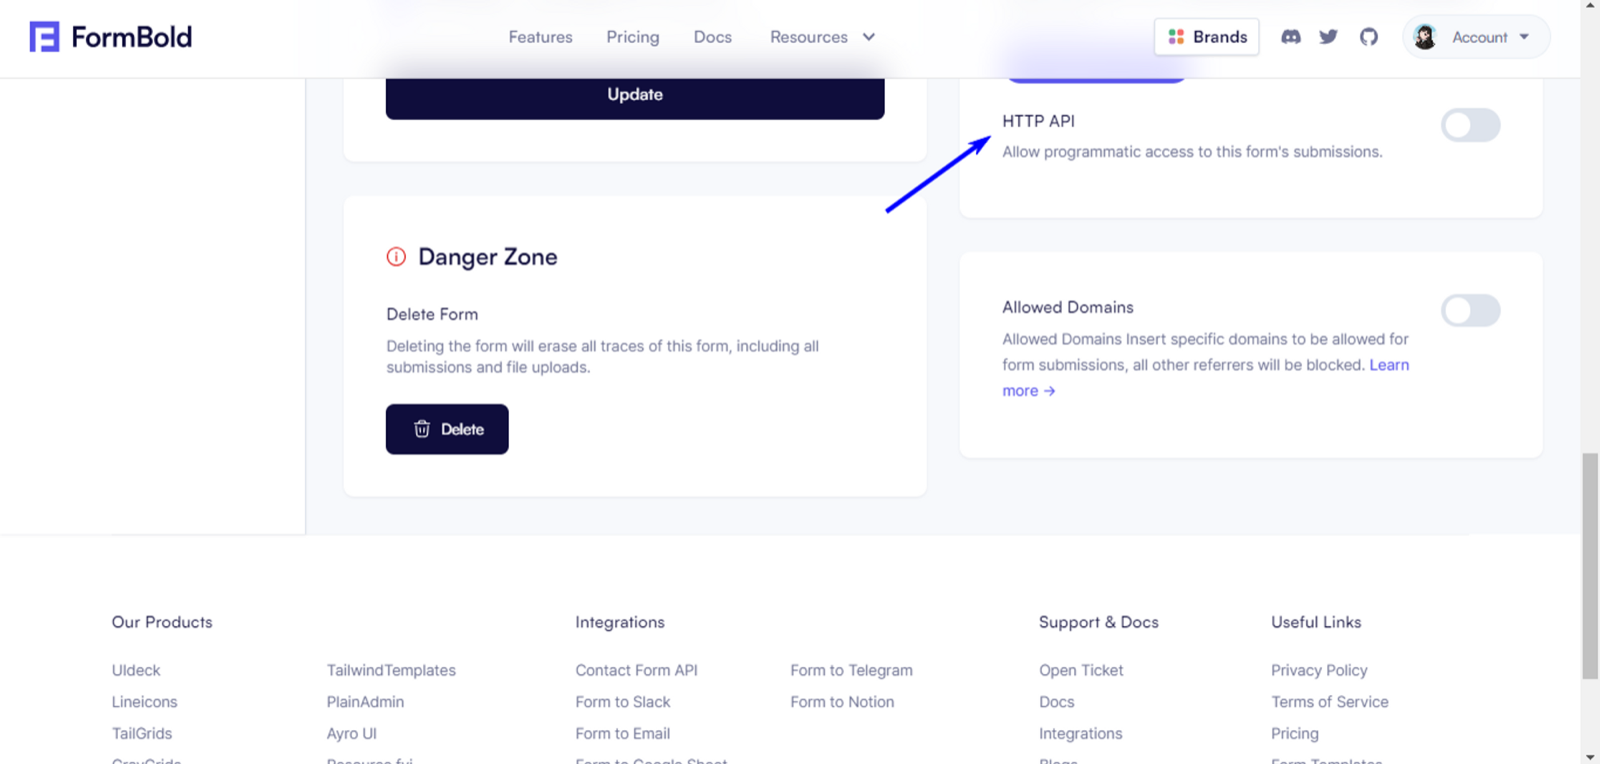
After you’ve enabled HTTP API check out the API guide for more information on how to use the API.
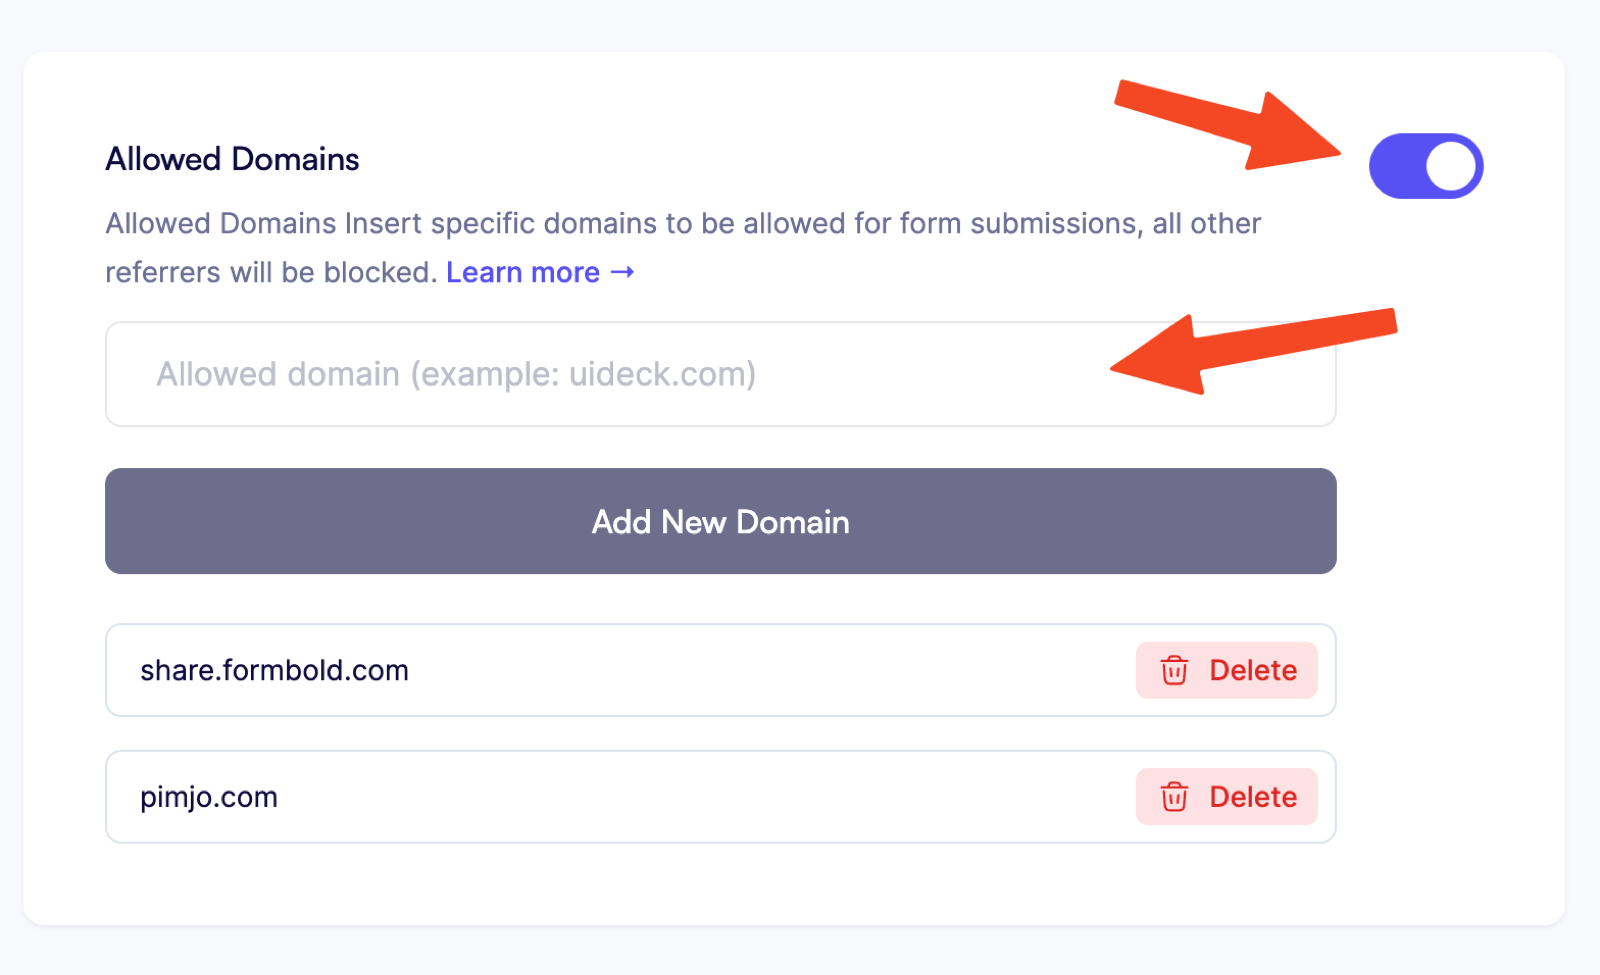
Allowed Domains
You can add an allowed Domain for your Form submission. Only from this Domain submissions will be allowed. When you try to submit from another Domain the submission will be rejected.
To add the Domain first go to Form Settings.
Scroll down to Allowed Domain and add the Domain. Make sure to turn on the toggler first. Otherwise, it won’t work.
File Upload
You can set up File Upload in a FormBold Form very easily.
All you have to do is add an Upload field on the Form and add enctype=“multipart/form-data” to the Form tag.
For now, FormBold Supports 5MB maximum upload (each file) with 30 days of data retention.
Note: File Upload is only available for Pro users.
Here’s an example of a form with a File Upload feature:
<form
action="https://formbold.com/s/FORM_ID"
method="POST"
enctype="multipart/form-data"
>
<label>
Your email:
<input type="email" name="email">
</label>
<label>
Your file:
<input type="file" name="upload">
</label>
<button type="submit">Send</button>
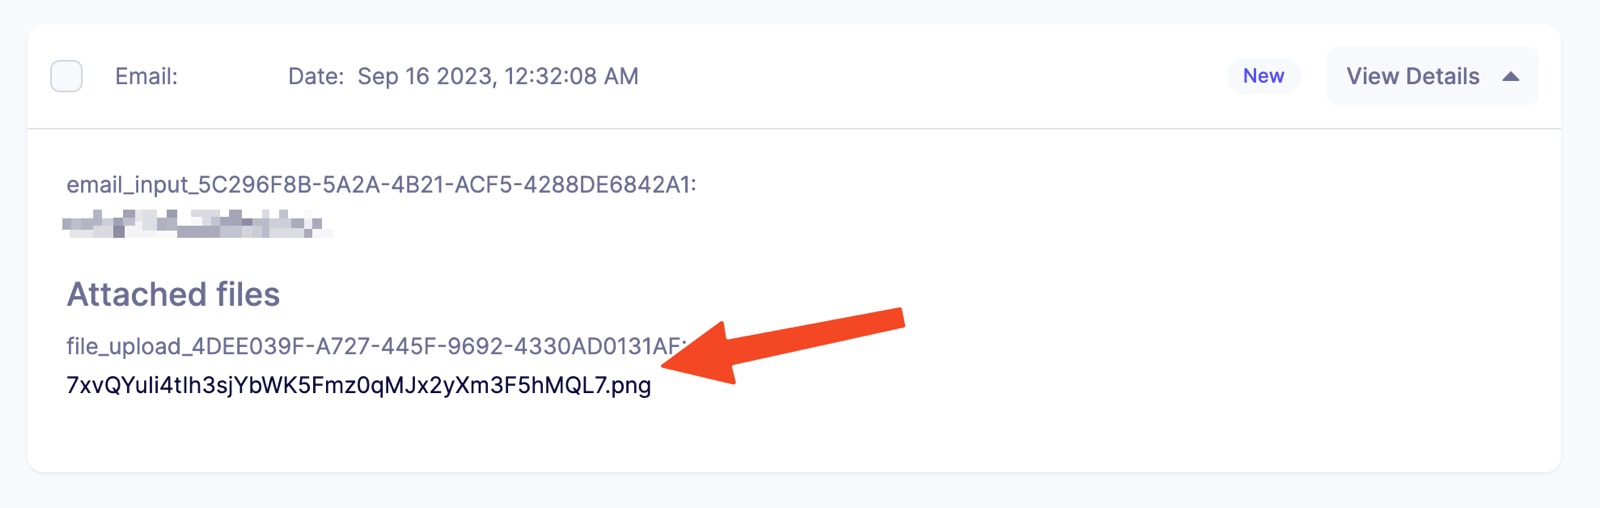
</form>Downloading Uploaded Attachments
Attached files will be emailed to you as attachment with submissions also you can also download form attachments by visiting submission page of specific form