Getting Started with FormBold
Welcome to FormBold! Learn how to transform static HTML forms and modern frontend apps into dynamic, serverless form endpoints in minutes.
Introduction to FormBold
FormBold is a powerful, reliable, and developer-friendly form backend and API. It allows you to collect form submissions, handle file uploads, prevent spam, and trigger third-party workflows without writing any backend code or running server infrastructure.
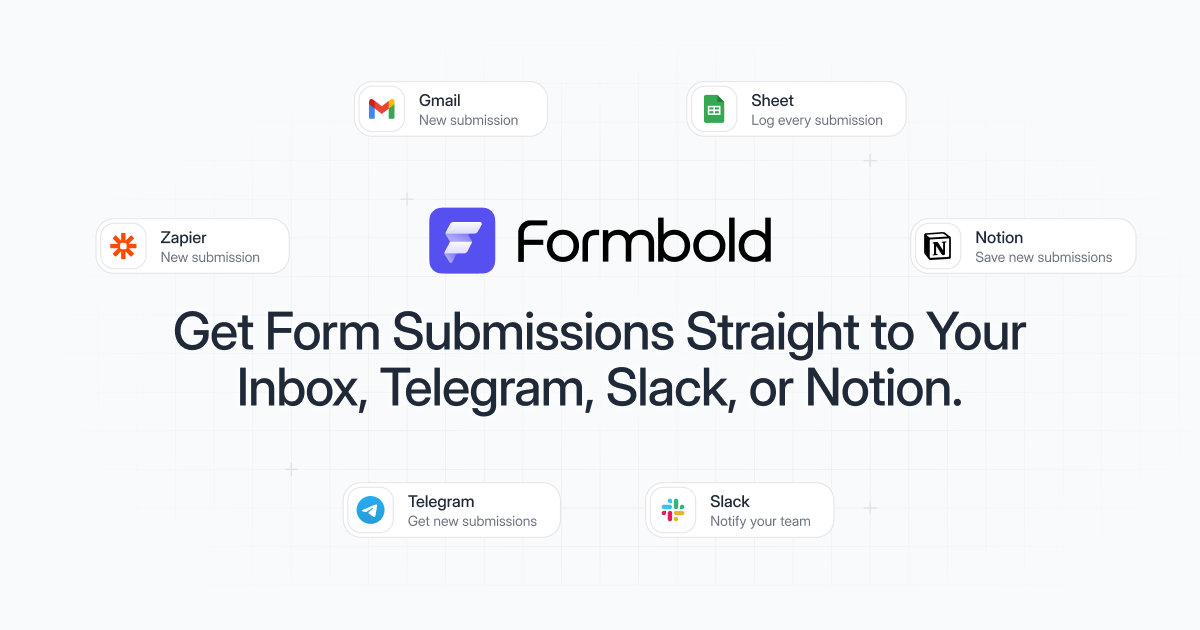
Whether you are building a static landing page with HTML & Tailwind CSS, or a complex web app using Next.js, React, Vue, or Angular, FormBold makes handling submissions effortless.
No server setup, no database configuration, and no backend maintenance required. Just point your form action to FormBold.
How It Works in 5 Quick Steps
Follow these straightforward steps to connect your website form to FormBold:
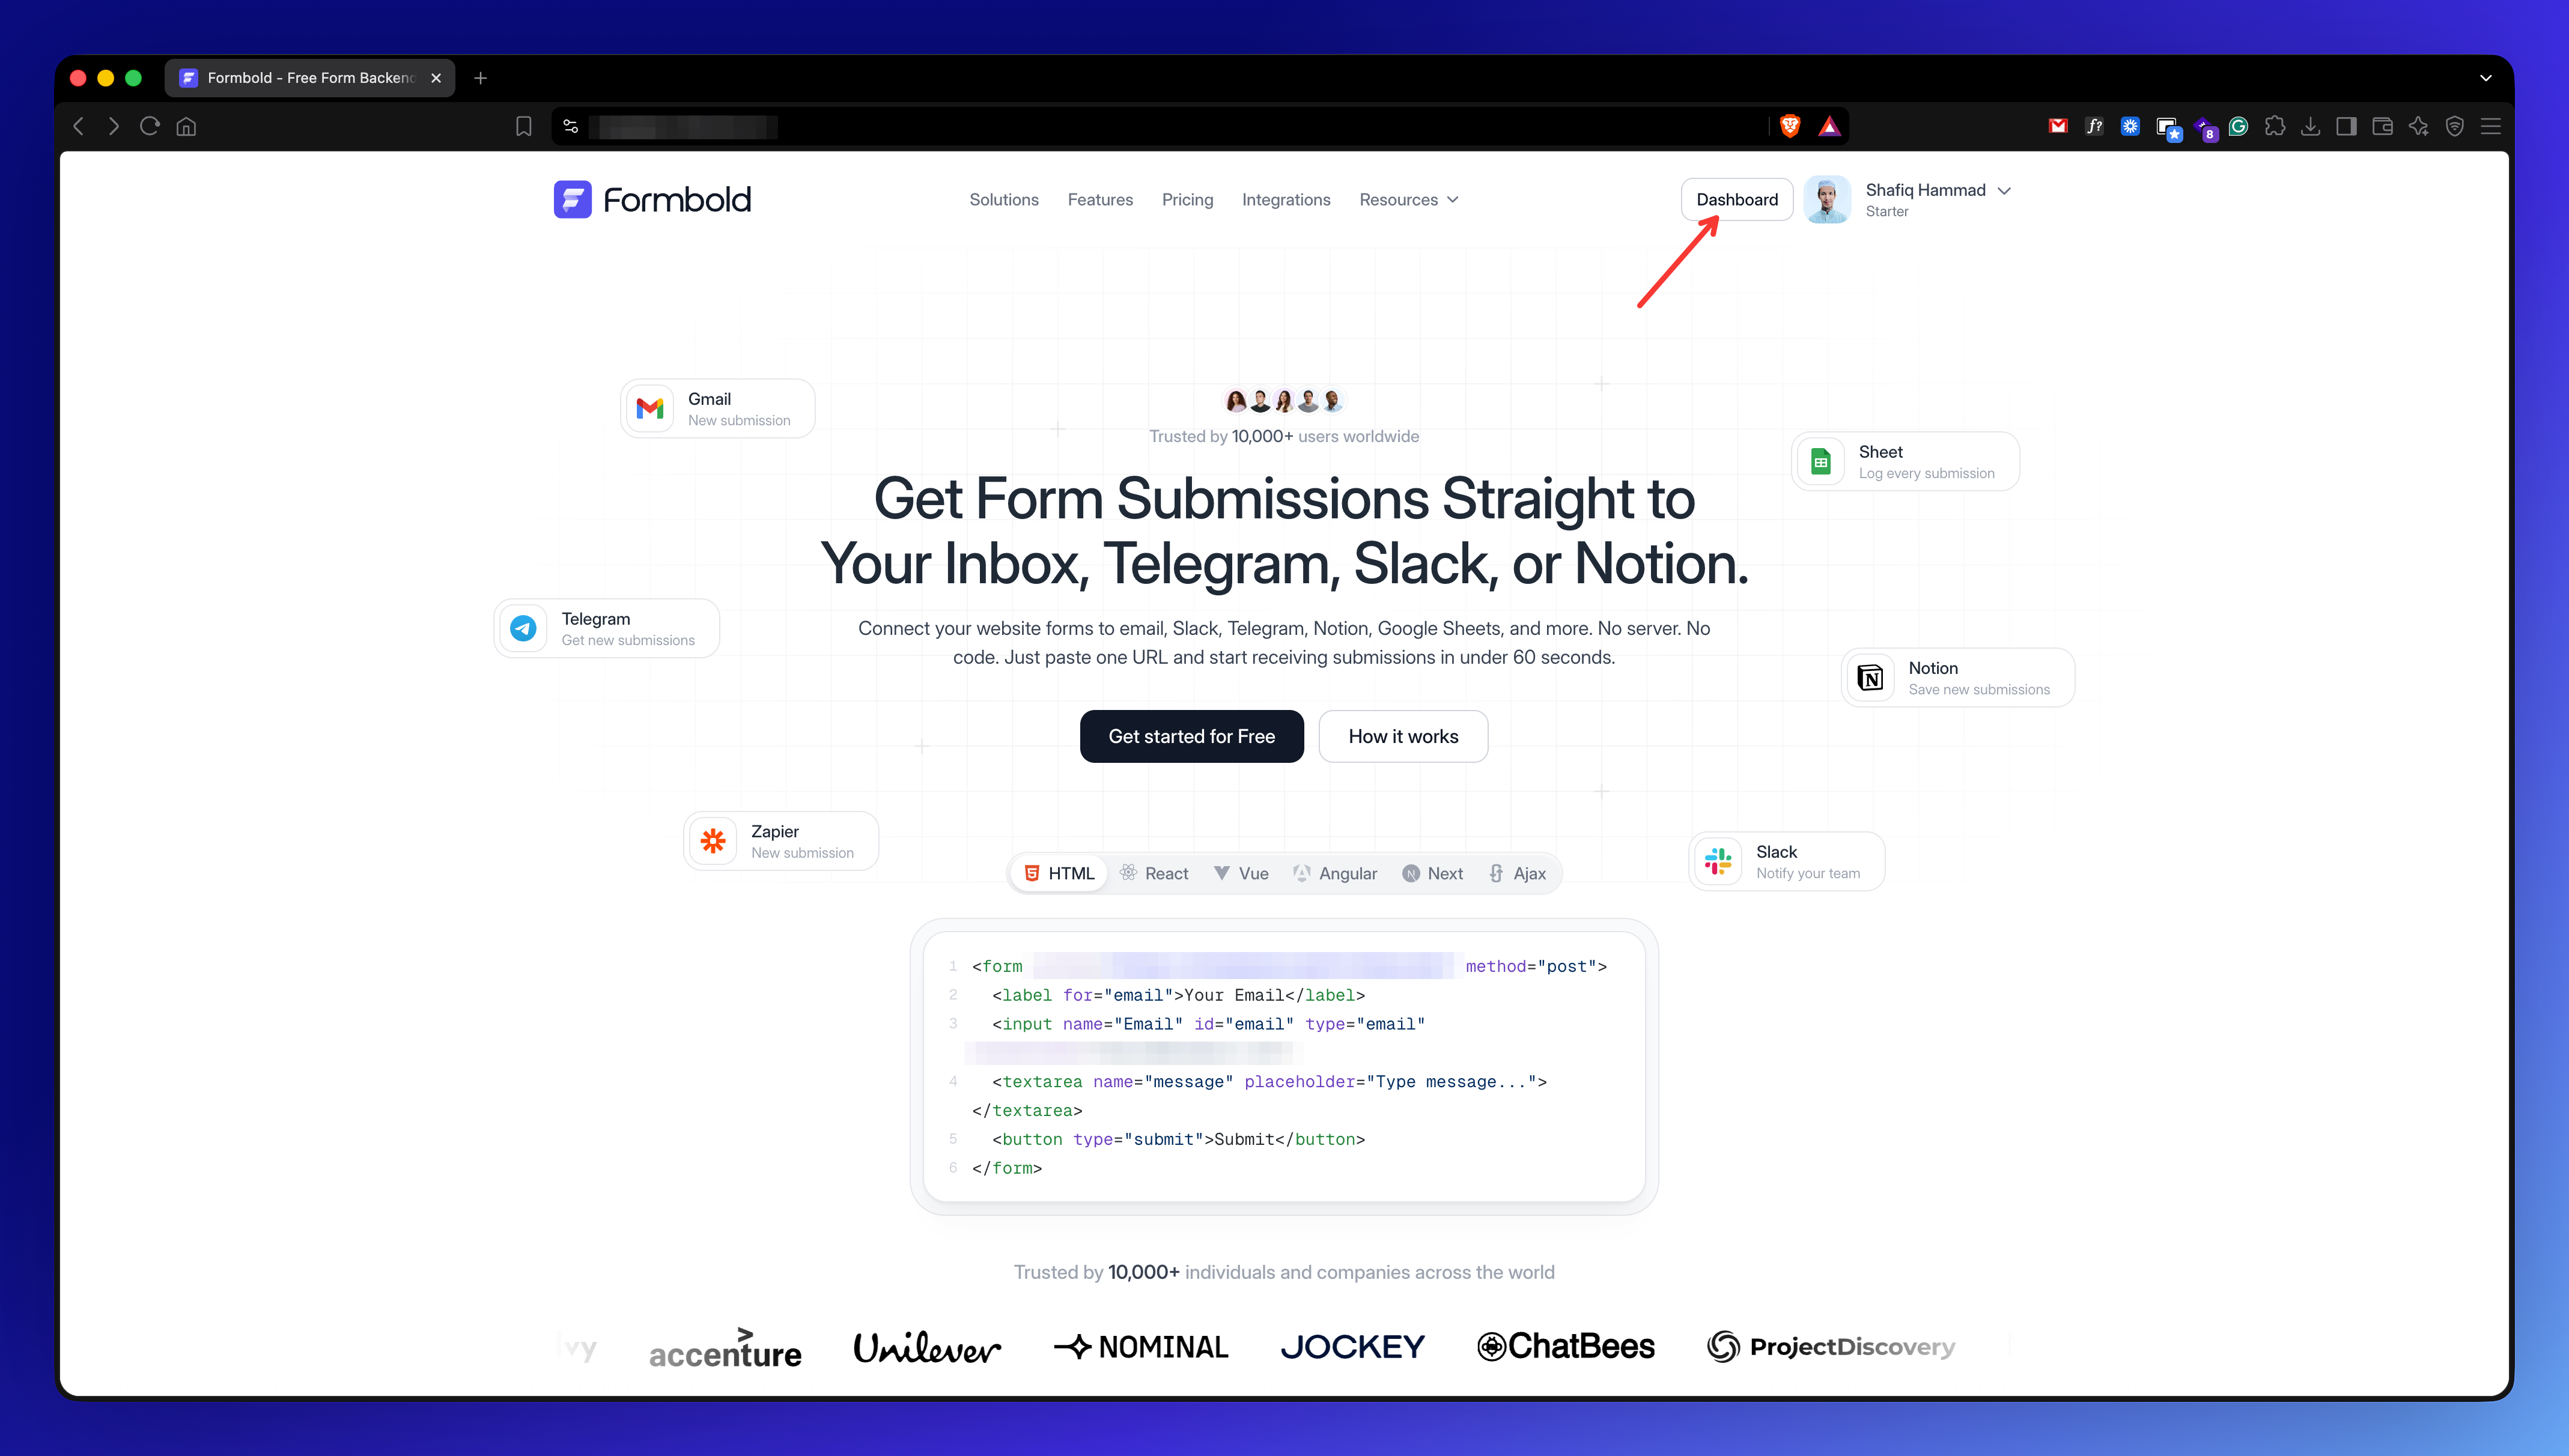
- Log in to your FormBold Dashboard and click the '+ New Form' button to create a form.
- Provide a name for your form (for internal identification) and click Create.
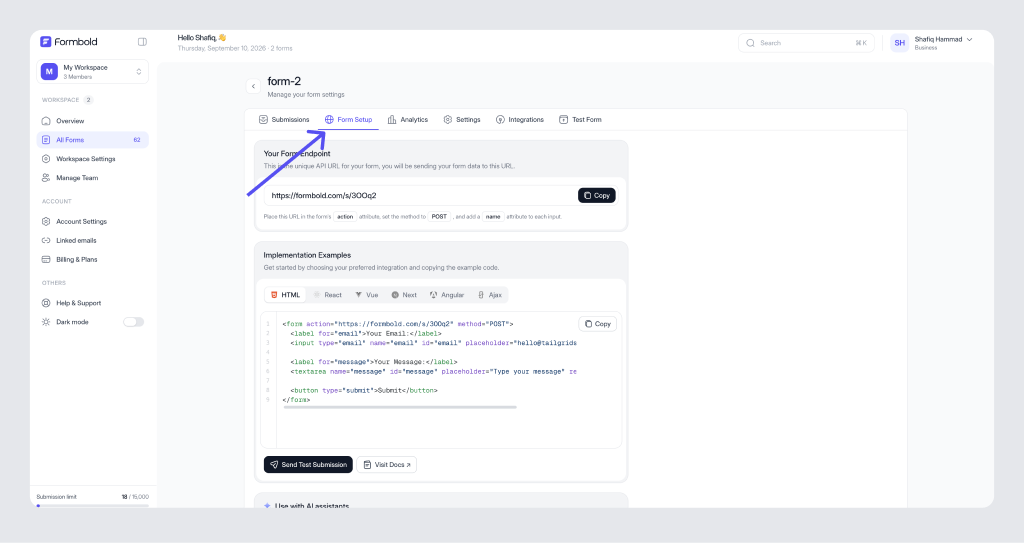
- Open your form and navigate to the 'Setup' tab to copy your unique Form Endpoint URL (e.g. https://formbold.com/s/YOUR_FORM_ID).
- Set the action attribute of your HTML form to the endpoint URL and ensure method='POST'.
- Submit a test entry on your website and instantly view the submission inside your FormBold dashboard!
Quick HTML Implementation
Here is a complete, minimal HTML contact form wired up to your FormBold endpoint:
<form action="https://formbold.com/s/YOUR_FORM_ID" method="POST">
  <label for="name">Your Name</label>
  <input type="text" name="name" id="name" placeholder="John Doe" required />

  <label for="email">Email Address</label>
  <input type="email" name="email" id="email" placeholder="[email protected]" required />

  <label for="message">Message</label>
  <textarea name="message" id="message" rows="4" placeholder="How can we help you?" required></textarea>

  <button type="submit">Send Message</button>
</form>
Interactive Form Testing (Sandbox)
FormBold includes an interactive Test Form sandbox directly inside your dashboard (/account/forms/[id]/test). Before deploying code live to production, you can test field validation, automated responder emails, and webhook dispatches in real time without creating external mock servers.
Key Requirements for Form Fields
To ensure FormBold captures your inputs accurately, follow these best practices:
- Always specify a name attribute for every form input (e.g., name='email', name='subject'). The value of the name attribute becomes the key in your submission records.
- Use standard HTML5 validation attributes such as required, type='email', and pattern to provide immediate client-side feedback.
- For file uploads, add enctype='multipart/form-data' to your <form> tag.
Next Steps & Advanced Features
Now that your form is connected and receiving submissions, explore additional capabilities:
- Form Settings: Configure custom redirect URLs, whitelabel email branding, and allowed origin domains.
- Automated Responder: Automatically send instant branded confirmation emails back to submitters.
- Spam Protection: Enable basic heuristics, honeypot fields, or custom Google reCAPTCHA.
- Connecting Apps: Forward form submissions to Slack, Google Sheets, Notion, Discord, Telegram, or Webhooks.
- Workspaces & Teams: Create isolated client workspaces and invite team members with granular roles.
- Account & Security: Add verified linked delivery addresses and manage Personal Access Tokens for REST API access.
Last updated: September 10, 2026