
Adding A Contact Form to Your React and NextJS Project: A Step-by-Step Guide

Creating a working contact form in a Next.js or React.js project and making it work can be difficult. But not anymore, with the help of FormBold Form, you can create forms and make them work without any kind of backend whatsoever.
Today we are going to show you how you can add a fully working form to your Next.js or React.js project.
The Form will work without any backend server all you have to do is attach a FormBold Form endpoint to the Form.
So, let’s get started.
Prerequisites
To follow along we assume you have a fundamental knowledge of React or Next.js and how forms work in these libraries.
And you have a FormBold account. If you don’t have one go ahead and create one.
Creating a FormBold Form End-point
In order to create a Form on our Next.js project first we will have to create a form in FormBold. And then we will get an endpoint that we can use in our project.
Here are the steps you need to follow to create a form in FormBold.
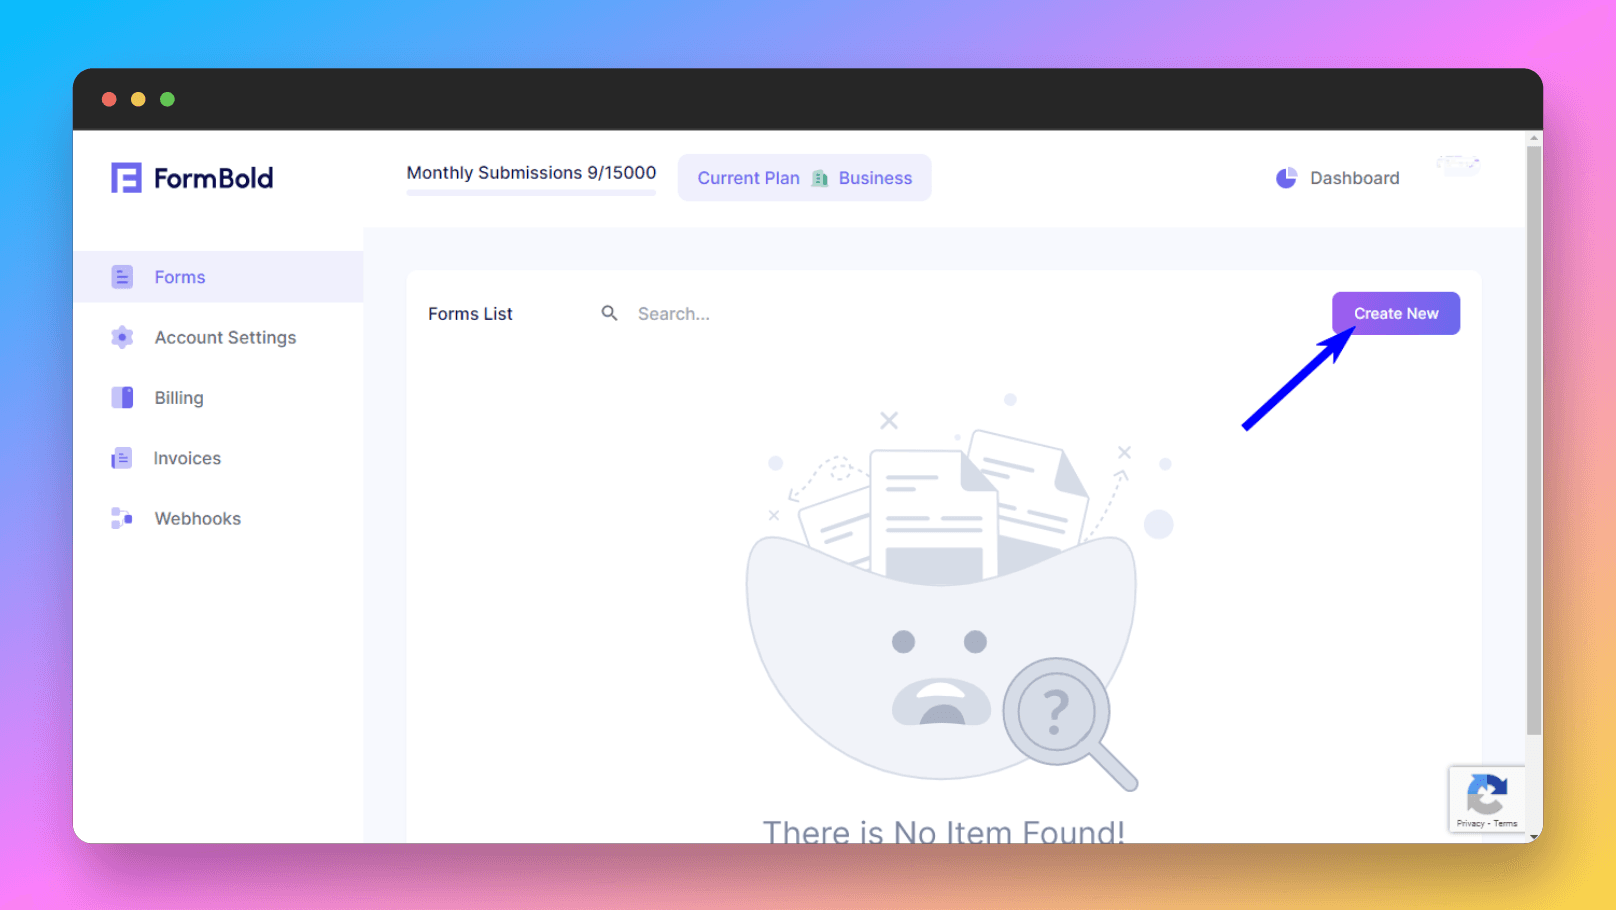
- Click the Create New button and follow the steps to create a form.
2. After that go to Settings.

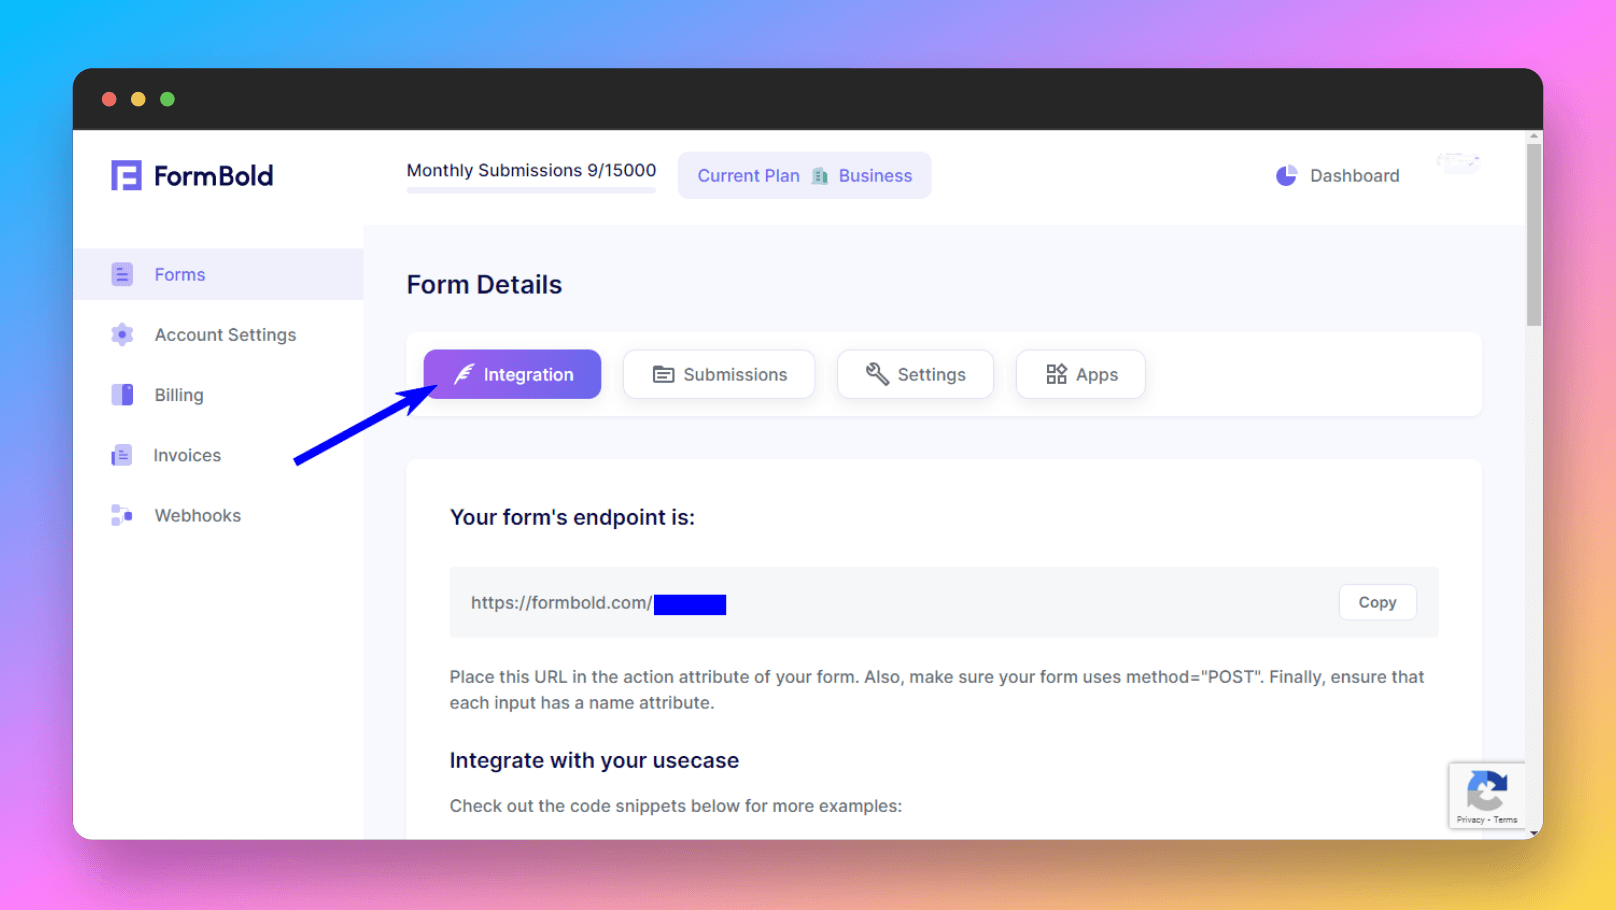
3. Now click on Integration, you can copy the endpoint of the form we created earlier and use it in your Next.js form.
4. Or you can scroll down and copy a starter code to test it out. This code snippet comes with a simple form integrated with the FormBold endpoint. We are going to use this code snippet for this article.
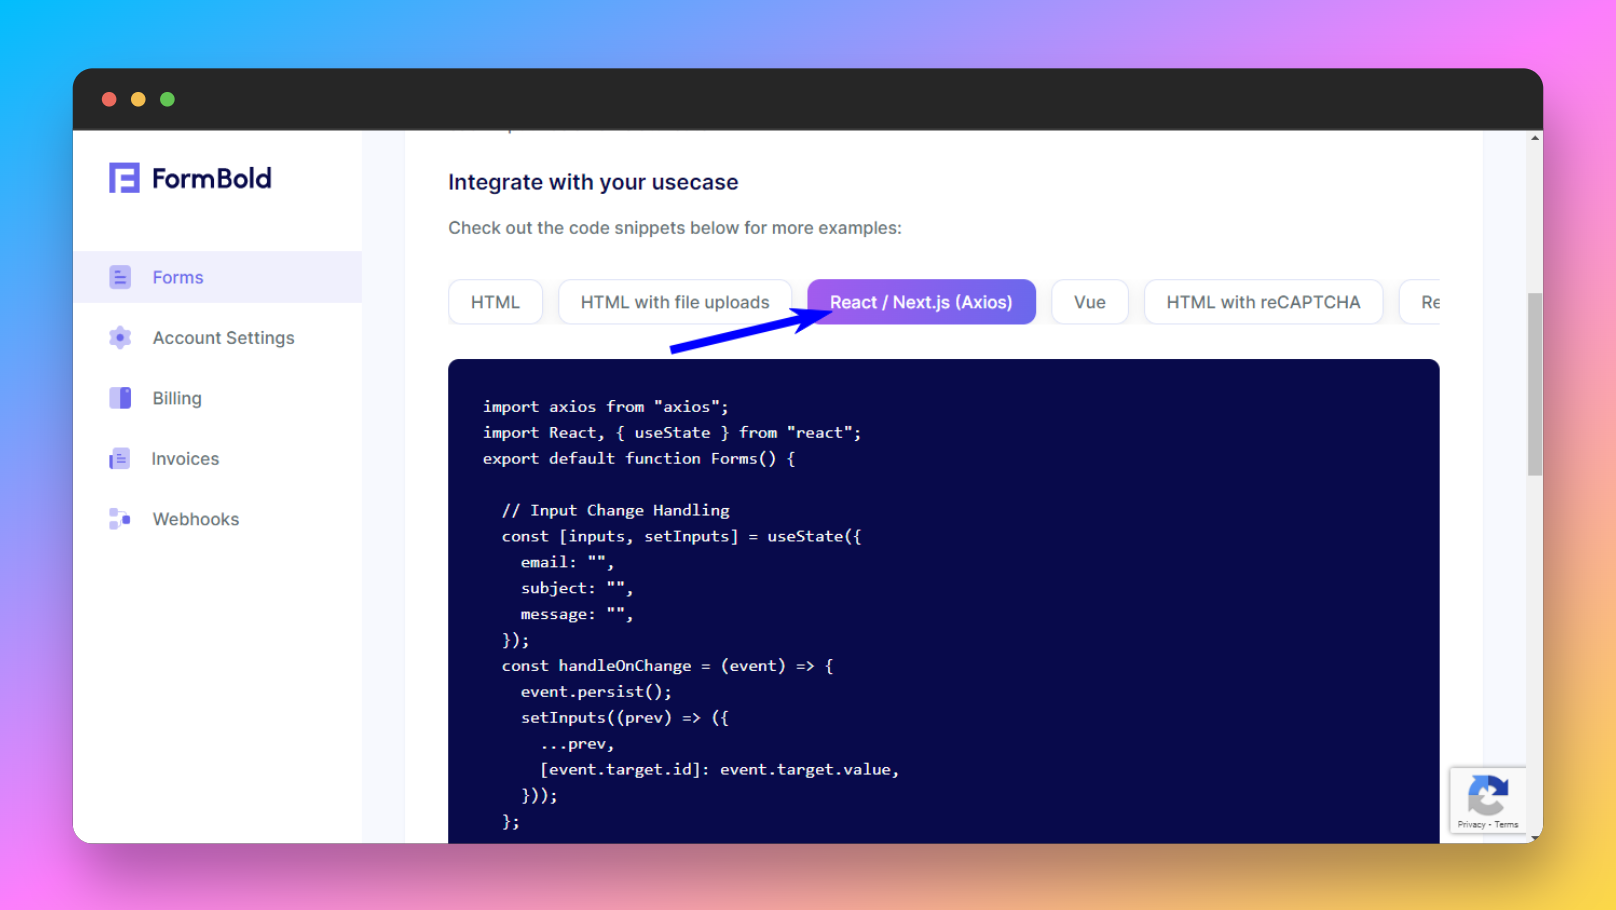
Go ahead and copy the code snippet, you’ll need it later.
Connecting to Next.js Project
We created a FormBold form, now we are going to add it to our Next.js project.
To add the form to the Next.js project you have to create a Next.js project.
You can create a simple Next project using this command:
npx create-next-app@latestAfter the setup is done run this command to install Axios. We will need it to submit the Form
npm install axios --save-devWhen the installation completes open it up on your code editor and start the dev server.
And then create a file for the Form. Create the files wherever you prefer, I created it on the root just to show you.
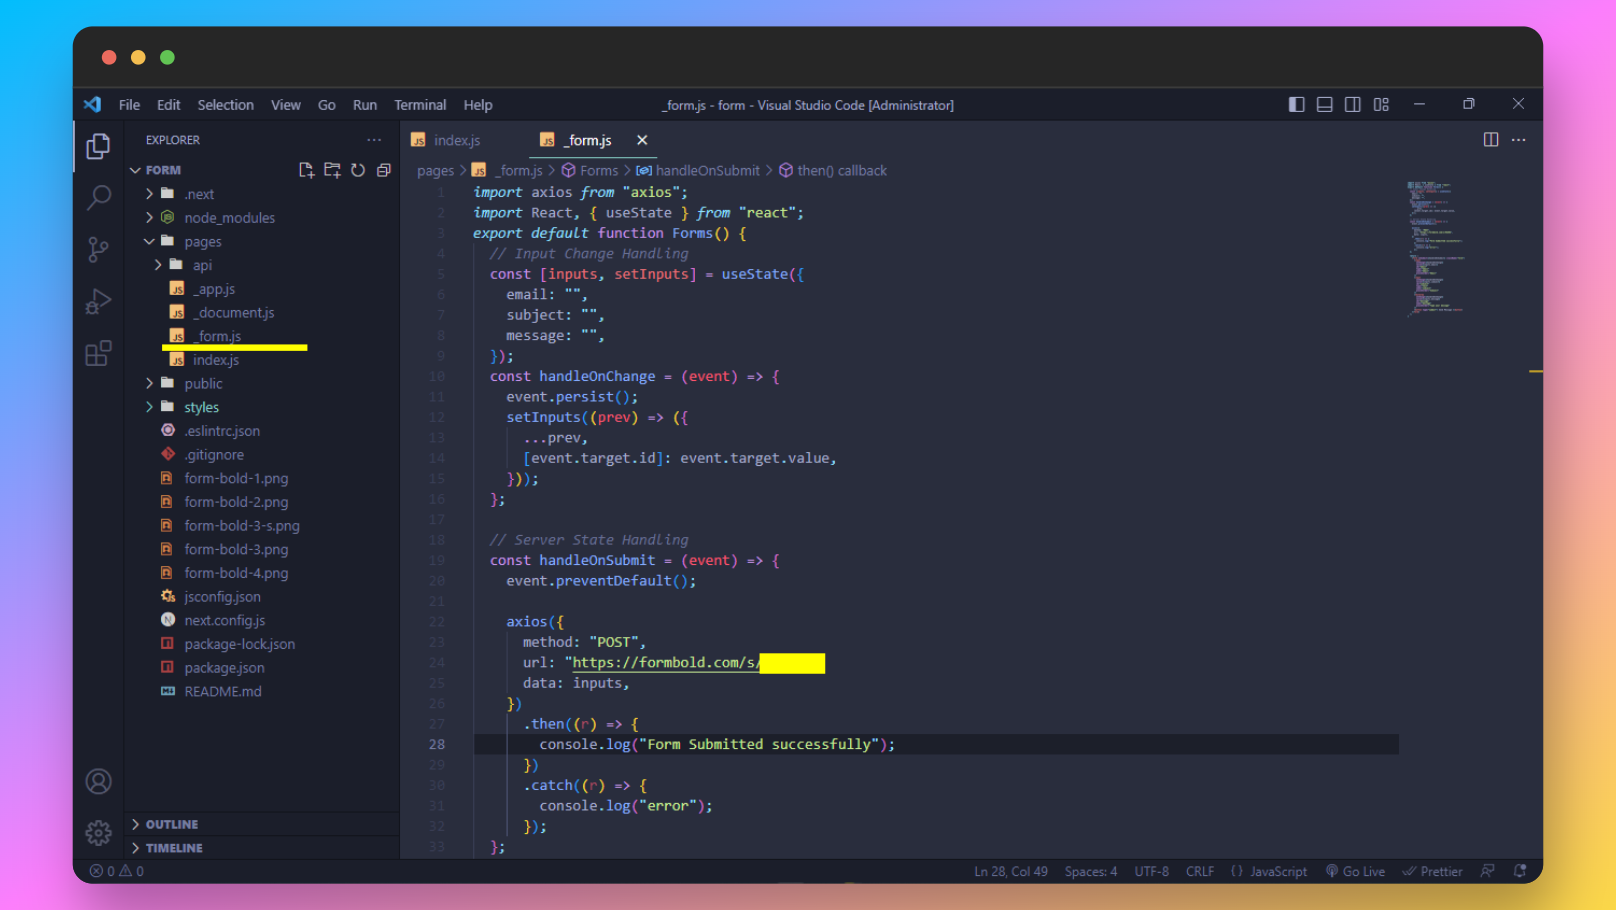
And now paste the code you copied earlier from FormBold. This code snippet has a simple form with all the event handlers and states it needs to work.
import axios from "axios";
import React, { useState } from "react";
export default function Forms() {
// Input Change Handling
const [inputs, setInputs] = useState({
email: "",
subject: "",
message: "",
});
const handleOnChange = (event) => {
event.persist();
setInputs((prev) => ({
...prev,
[event.target.id]: event.target.value,
}));
};
// Server State Handling
const handleOnSubmit = (event) => {
event.preventDefault();
axios({
method: "POST",
url: "https://formbold.com/s/{form_id}",
data: inputs,
})
.then((r) => {
console.log("hello");
})
.catch((r) => {
console.log("error");
});
};
return (
<form onSubmit={handleOnSubmit}>
<input
onChange={handleOnChange}
value={inputs.email}
id="email"
type="email"
name="email"
placeholder="Email"
/>
<input
onChange={handleOnChange}
value={inputs.subject}
id="subject"
type="text"
name="subject"
placeholder="Subject"
/>
<textarea
onChange={handleOnChange}
value={inputs.message}
id="message"
name="message"
placeholder="Type your message"
/>
<button type="submit"> Send Message </button>
</form>
);
}Embedded code also can be found here
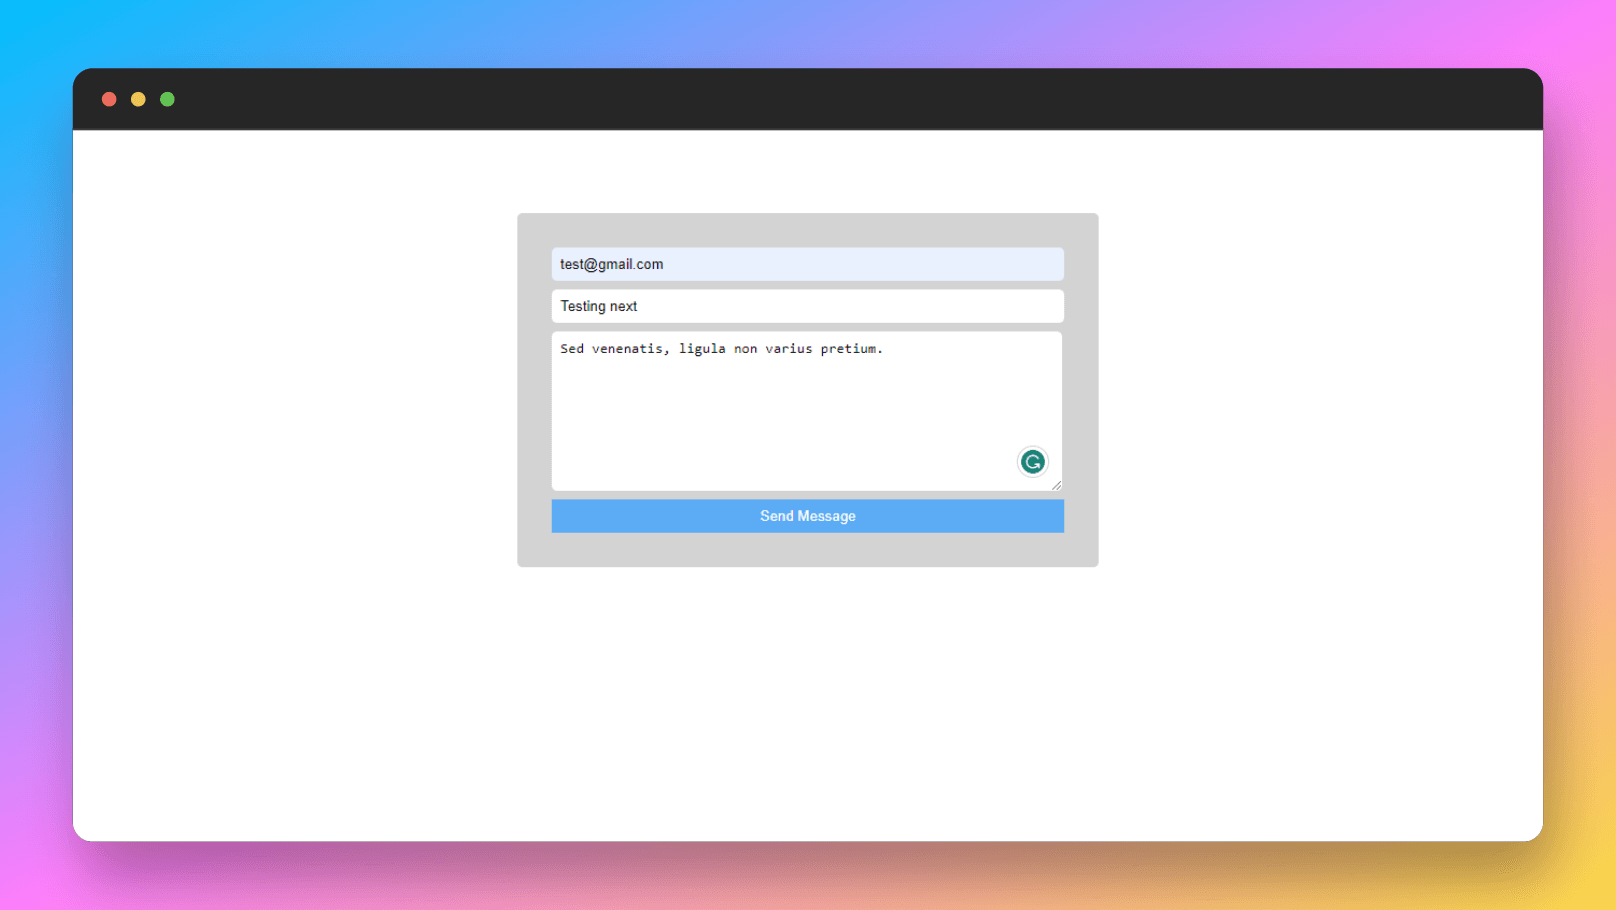
Here’s what it looks like on the website. I’ve added some CSS to make it look like this. You can add your own CSS and style the way you want.
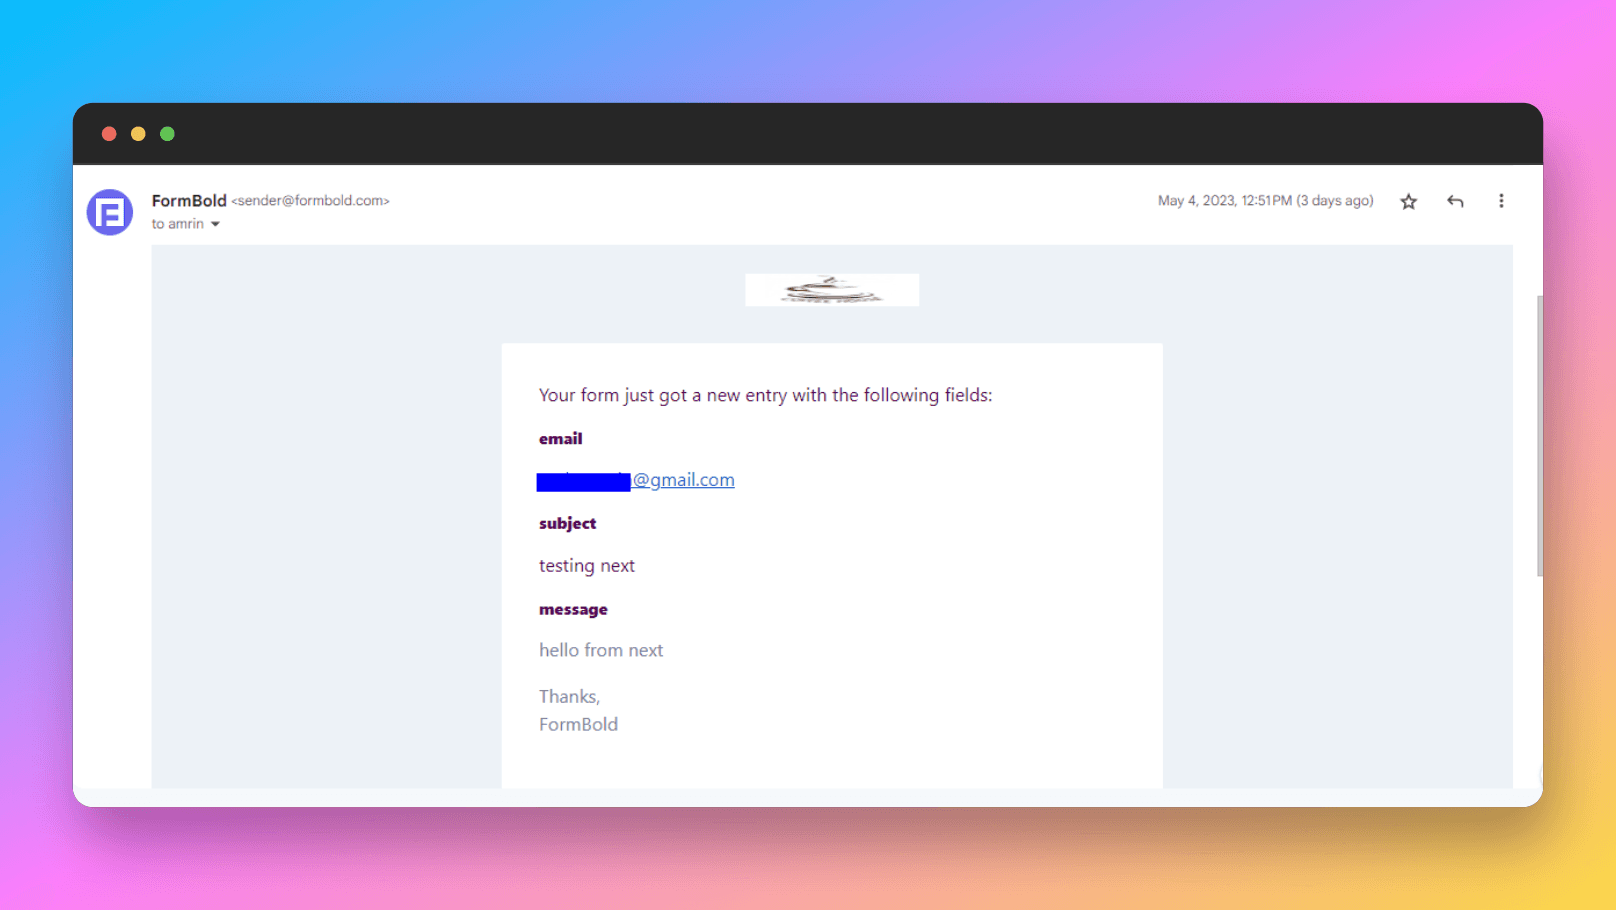
Now go ahead and submit the form to see if it works. If it works you’ll get the submission in your mail.
Conclusion
In this article, we showed you how easily you can integrate FormBold Form with your Next.js and React.js projects.
If you want to know more about how FormBold works and how to use other features of FormBold check out the FormBold docs. You’ll find all the information there.